Blog
Prototype to Production: CNC First, Then Molding or Stamping
Prototype with CNC, then switch to molding or stamping at the right volume. How the stages fit together, and where the money is saved by switching on time.
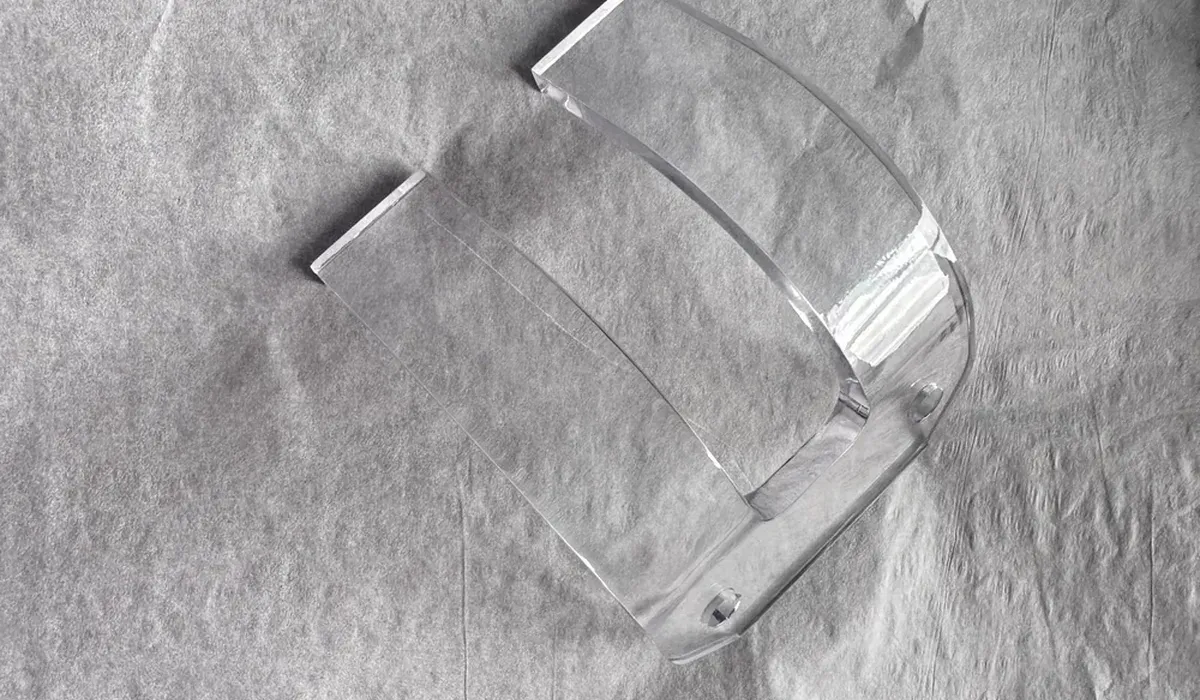
A common path for a new part looks like this: a handful of prototypes, a small first batch, then — if the product sells — real volume. Each stage has a process that fits it best, and switching at the right time is where most of the money is saved.
Here is how we usually walk customers through that path, and why it works better than jumping straight to tooling or machining everything forever.
Step 1: Validate the Design with CNC Prototypes
The first question a new design has to answer is simple: does it work? CNC machining is the fastest way to find out.
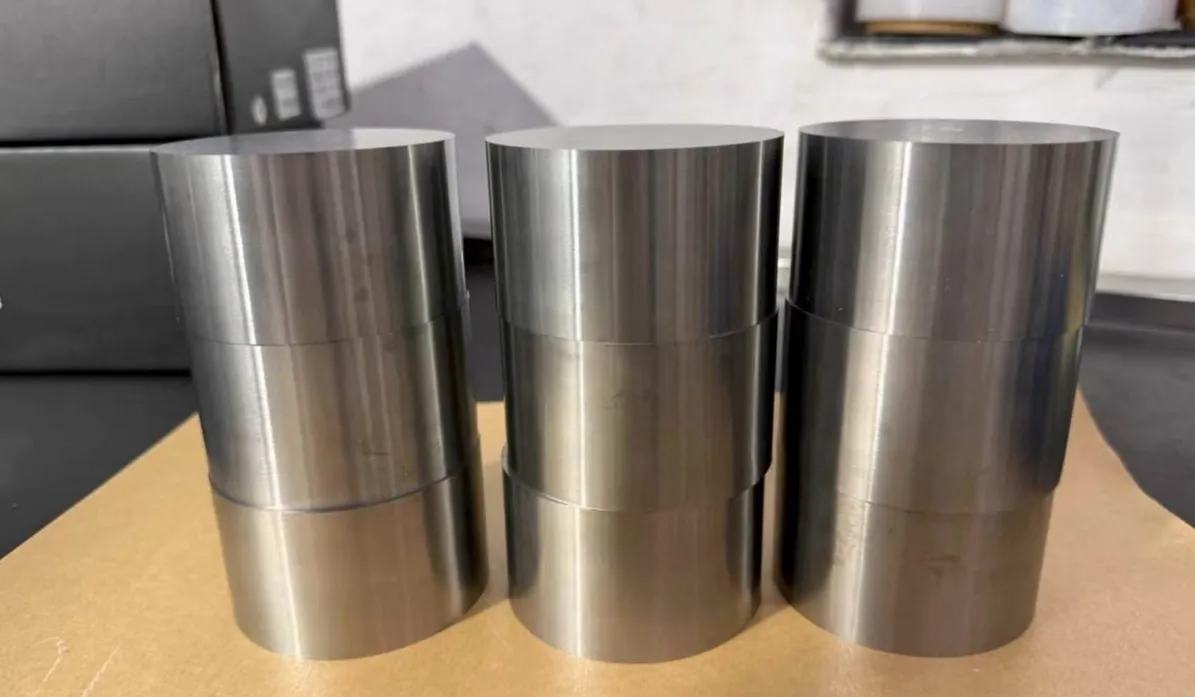
A machined prototype is cut from solid stock in the actual production material — real aluminum, real stainless, real engineering plastic — so it behaves like the final part in fit, strength, and feel. There is no tooling to build, so a design change costs nothing but machine time. We typically turn prototypes around in 3–5 days, which keeps the design loop tight: test, adjust, re-cut, test again.
This is also the stage to check the things drawings cannot tell you. How does the part feel in the hand? Does it assemble the way the designer expected? Do the tolerances stack up the way the math said? Our standard machining holds ±0.1 mm, with ±0.01 mm achievable on critical features, so the prototype tells you the truth about the design rather than an approximation of it.
Stay at this stage until the design stops changing. Every revision after tooling is cut costs real money; revisions on a CNC program cost almost nothing.
Step 2: Bridge the Gap with Vacuum Casting
Once the design is nearly frozen but volumes are still small — a pilot run, a trade-show batch, early customer units — vacuum casting fills the gap between prototyping and production tooling.
A silicone mold is made from a master part, and parts are cast in polyurethane resin that mimics common production plastics. The mold is inexpensive and quick to make compared with a steel tool, and it produces parts that look and feel close to injection molded ones. Typical accuracy is around ±0.3 mm, which is fine for housings, covers, and enclosures at this stage.
The honest limitation: silicone molds wear out. A mold is good for a limited run of parts before detail starts to soften, so vacuum casting suits tens of parts, not thousands. When you find yourself ordering mold after mold, that is the signal to move on to step 3.
Step 3: Move to Molding or Stamping When Volume Is Real
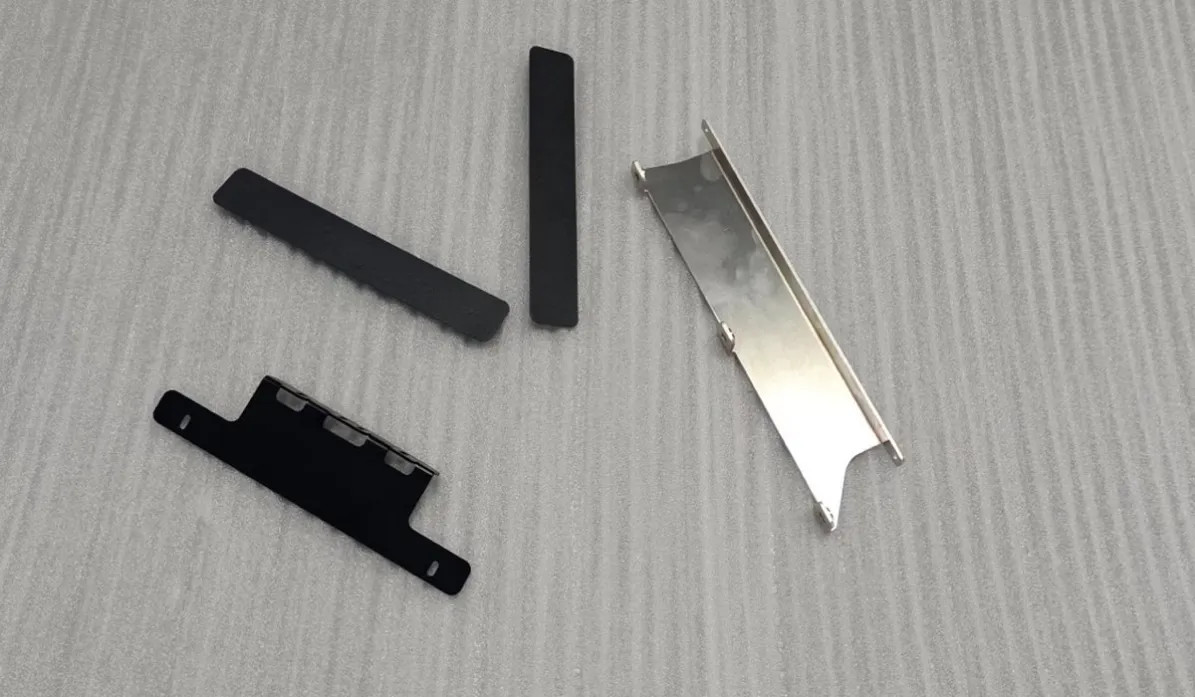
When quantities grow and the design is stable, hard tooling pays for itself. Plastic parts move to injection molding: a steel mold, a higher upfront cost, then a low per-part cost and consistent quality across long runs. Flat and formed metal parts move to stamping: a die, then fast, repeatable parts at volume.
The switch point is economic, not technical. Tooling makes sense when the per-part savings across your expected volume repay the tool — and when the design is frozen, because changing a steel mold is slow and expensive compared with editing a casting master or a CNC program.
We handle the molds and dies as well as the production runs, which matters at this stage: the people cutting the tool have already seen your part as a prototype and a casting, so the details that caused trouble earlier get designed into the tool rather than discovered after it.
Why One Partner for the Whole Path
The alternative to a one-stop route is three suppliers: a prototype shop, a casting shop, then a molder — each one learning your part from scratch, each one interpreting the drawing their own way, each handoff a chance for something to get lost. Tolerances that were fine at prototype stage get questioned. Finish expectations get re-negotiated. The file transfers alone eat days.
Working with one partner from first article to production removes those handoffs:
- The drawing is explained once, and the intent behind the tolerances is already understood
- Finish and inspection expectations carry over — FAI and material certificates are available on request at every stage
- The tooling is designed with knowledge of what the part actually does in assembly, because the same team made the prototypes you assembled
- When something needs to change, there is one conversation, not three
It also keeps responsibility in one place. If a production part does not match the prototype you approved, there is no argument about which supplier changed what.
A Simple Way to Decide Where You Are
- Still changing the design? CNC prototypes.
- Design settled, need tens of parts? Vacuum casting.
- Design frozen, volumes in the thousands? Injection molding or stamping.
Most parts we see travel exactly this road. Starting with the end in mind — knowing a part will eventually be molded or stamped — also lets us flag features early that will be cheap to machine but expensive to tool, while they are still free to change.
If you are at the prototype stage now and want the production conversation early, send the drawing and tell us the volumes you expect. See our vacuum casting, injection molding, and sheet metal stamping pages for more on each step, or request a quote — we reply within 8 hours, and quotes are usually back within 24 hours.